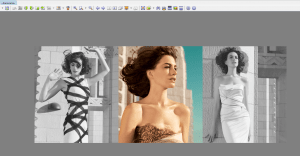
This are the steps I followed to make the header on Premade #11.
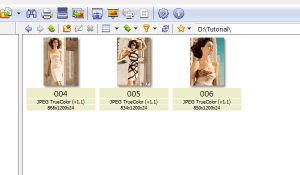
Needed: Download XnView from XnView or FileHippo. Install the software. Choose your photos. I used 3 pictured from one of Anne’s spreads for Vogue:
Step 1: Resize + make 2 of the photos black and white.
Resize: Open the photo, then go to to Image > Resize and put your dimensions. The header will be 1366px wide by 525px high, so the b&w photos will be 455px wide.
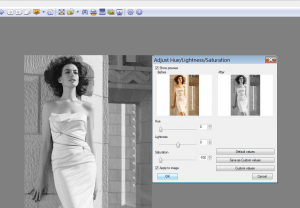
B&W: With the photo open, go to Image > Adjust > Hue/Lightness > Saturation > Set Saturation to -100 > Click OK.
With the photo still open, go to Image > Adjust > Conbright > Set it to 25 > Click OK.
Crop: Select the region to crop (455px wide and 525px height) and press crop.
Save: Go to File > Save as – I recommend saving it as .bmp because it’s a loseless format and improves the quality of the final header.
Repeat for the second photo.
Step 2: The color photo: Resize, crop (456px wide and 525px height), and save as .bmp.
Step 3: Create the header.
Select the 3 photos > Go to Create > Strip of images.
You will get the following options. The default settings will be enough to make the header.
Click Create.
Save the header: Go to File > Save as. You can save the final header as .jpg or .png.


Thank you for the tutorial, it worked like a charm – I used XNViewMP portable version. 🙂
By the way, the “Strip of images” voice in the Create menu now says “Join images”; I guess it’s something that changed with the newest versions, and I thought to let you know.
Thank you very much again. 🙂 🙂